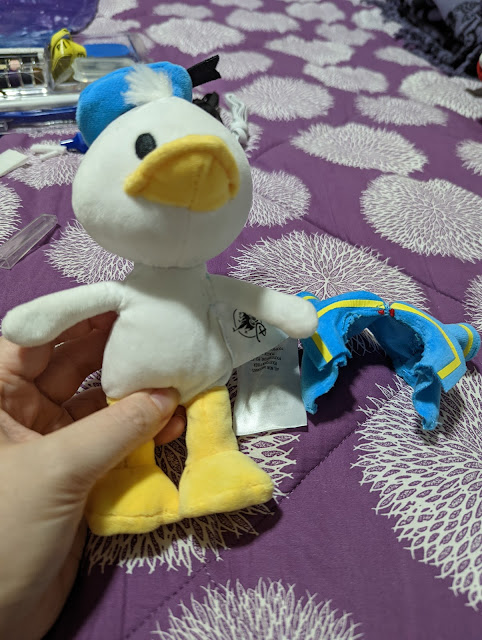
Removing Donald's and Daisy's Shirts (And Making Them Usable)
I know that there are quite of few of us out there in the nuiMOs community that just wonder, "Why didn't Disney make Donald's and Daisy's shirt removable?" They did it with Minnie from the beginning so I was always curious. Well, I finally got fed up with Donald's And Daisy's shirt being in the way with the different outfits Disney came out with and what I created. It was almost impossible to put them on and have it look right. I sat down and found out that it's a mini adventure doing this. Donald is by far easier than Daisy, and you'll see why.
I decided that if I'm going to go through all the trouble of removing their shirts, I wanted to make sure that I could use the shirts again if I ever wanted to. Plus, it's kind of fun to see other nuiMOs wear their shirts. Hahaha.
Here's What You'll Need:
- Small scissors
- Seam ripper
- Needle and thread
- Velcro or other closure
- Felt or other fabric
DONALD'S SHIRT
As stated previously, I began with Donald. I had heard that his shirt was easier to remove from another nuiMOs fan. Boy, were they right.

You'll have to take your seam ripper and/or tiny scissors to take out the stitches from the back seam underneath the collar. Go slow because if you make a hole, there's no going back. You won't have extra fabric to replace anything.

I decided the easiest plan of action was to cut down the middle of the collar for easy on/off wear-ability. I've seen another take the collar off down one side of the shirt and then use a snap near the front for closure. Do what you think is best.
You should be able to slide the shirt off now and now prep for closure.

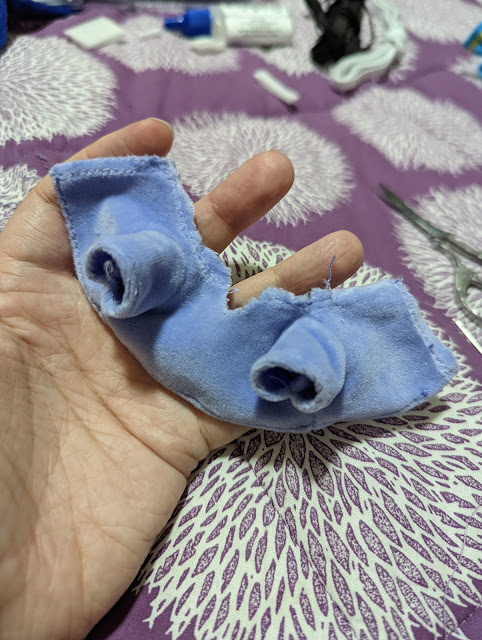
Cut a small piece of velcro and a tiny bit of fabric (non-fraying) the length of the shirt.


Take your needle and thread hem down one of the exposed edges and then attach the velcro.


Do the same for other but while doing it add your extra fabric to the inside of the shirt. Sew your other velcro piece to that extra bit of fabric.

It's maybe not the prettiest solution, but it's something I can live with. Hopefully if this is something you want to do, then you now feel like you can achieve this.
DAISY'S SHIRT
I'm warning you now, this one will take some bravery for some of you. The process started very similar to Donald's shirt but ended up with a big thing to fix. You'll see why I say that.

So take your seam ripper and/or tiny scissors to undo the seam in the back. But you'll start to notice things get real from here on out. I had thought Daisy's shirt was attached to just the top part of her back.

Nope. This ended up going all the way around into her neck seam. By the time I got here I figured that I had gone too far to quit.

Yep. Her head came off after I got around the whole shirt. It was kind of terrifying to get to realization, but thankfully it's fixable.

Carefully take your needle and thread and attach her head back to her body. Use an invisible ladder-stitch to do this. It will make things look so much cleaner. You have to do this on a tiny layer of fabric that is the joint. It's the same layer from which the shirt was released. I did this and her head still turns like normal.

For the shirt, I followed the same steps as Donald's from this point on out. Hem the edges, put on the extra fabric, and sew on velcro/closures.

You're done after that! Somehow I go this one to look better. I think I may have gotten the velcro closer to the edges of the shirt.

If you decide to try this out, let me know! You can share your adventure with me here or on Instagram @disneynuimosdiy. Have fun crafting!


love it
ReplyDelete