Posts

Showing posts from February, 2021

Cardboard nuiMOs House (Day Two)
Image
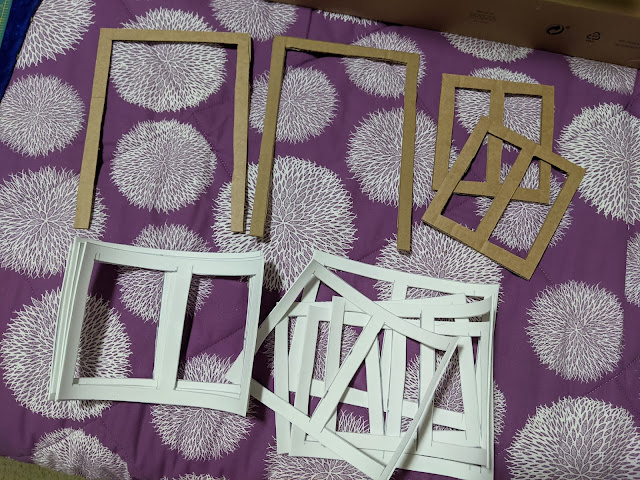
 The cardboard house for my Mickey and Minnie nuiMOs was a bit of an undertaking. It did end up taking two days just to construct and then decorate the exterior. If you haven't already, go to the Day One post to catch up to where I am at this point. From here it's just adding decorative touches and a railing to the patio. The first thing I did on Day Two was making the door and window frames. I originally started cutting out the frames using cardboard, but by the time I had cut out the two front windows I was ready to call it quits. I then remembered I has a roll of extra EVA (craft) foam for cosplay purposes. I thought this would be the best material to use for ease of cutting and still being a sturdy material. All of these frames are a 0.5" thick.  Right above the top windows on the front I felt like something was missing all of Day One. I had the hardest time figuring out what to do. I then remembered we had a Mickey head pancake silicone mold than I could use as a ste...
Cardboard nuiMOs House (Day One)

Image
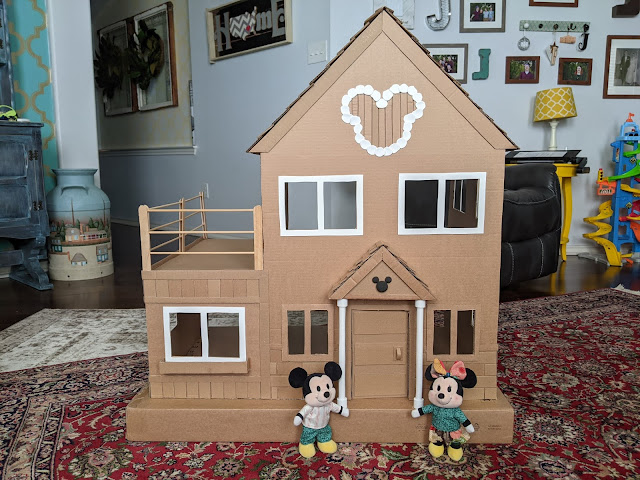
Recently I've been thinking about making some cute furniture to make for my Mickey and Minnie nuiMOs, but I wasn't sure where I could put them. I was fiddling around with the idea of the perfect scale that could work for them, but it seems that it's all over the place. Others on FB groups have tried to find things that could work with them with varying success. IKEA has some doll furniture and houses that seems to work pretty well. I had thought about purchasing those items and then I remembered this blog, lol. I decided to forget about scale completely and just pushed forward. Funny enough my family just went to IKEA to purchase a furniture item so there was lots of cardboard to be used! I ended up using most of the three boxes that was used to house the KOPPANG pieces and some of cardboard pieces on the inside of the boxes. I took some progress pictures along the way. You will see my mistakes and the stuff that worked. I have plans for the future to paint the house and do...

Overalls Dress Tutorial

Image
The last tutorial as part of the patterns I have shared is here. This is to make a cute overall dress. It's meant to be a tight fit since the skirt is based off of Minnie's dress. Here's what you'll need: The overalls front piece Two overall straps pieces One tight skirt piece Thread Sewing Needle Velcro     Hem the bottom curve of the skirt with a one fold hem about less than a 1/4" width.   Now take the overalls front piece and add hems to the sides and then on the top. The second photo shows what the piece should look like when you're done with these steps.     Add the overalls top piece to the skirt when you sew the hem to the top of skirt. Try to center it if you can, if not it's not a big deal. As you can see mine isn't.   Sew the hems on the sides of the skirt and add the velcro.   The finals step is to hand sew the straps to the overalls front and back of the skirt. The placement for the front is easy. You'll have to slip the dress onto you...