Posts

Crochet LUCA (Sea Monster) Onesie
Image
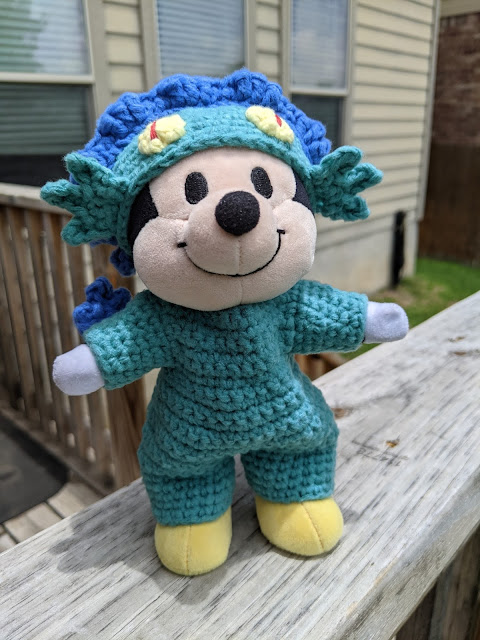
  This was the first character I wanted to make into a onesie. This character is Luca in his sea monster form from the upcoming PIXAR movie LUCA. I think he's adorable so I had to make something of him! To do this onesie you'll have to go back to the crochet sweater pattern to understand how I accomplished the top and sleeves. And as another construction note, the back opening will be quite large so you'll have to sew up some of the bottom starting from the legs to aesthetic and wearing purposes. Remember, I'm located in America so the pattern abbreviations are accordingly so. And, as usual, I'm sharing these patterns in good faith. Please don't sell the pattern or any product made from it. Thanks! What you'll need: Thinner yarn (Green, Blue, Yellow, Red) 3.5 mm (E) hook Scissors Stitch marker Yarn needle Closure (snaps or velcro) for the back Optional: Buttons for eyes  Abbreviations: MAR = magic adjustable ring  st = stitch sc = single crochet dc = ...

Crochet BAYMAX Onesie

Image
  I had this cute idea for making a onesie after seeing some cute ones on a FB crafters group. The problem was I didn't know which characters I wanted to do. BAYMAX was actually the second character that came to mine and I'll write the first idea right after this one. I decided on BAYMAX because he is simple in design and would be easy to translate to this kind of design. To do this onesie you'll have to go back to the crochet sweater pattern to understand how I accomplished the top and sleeves. And as another construction note, the back opening will be quite large so you'll have to sew up some of the bottom starting from the legs to aesthetic and wearing purposes. Remember, I'm located in America so the pattern abbreviations are accordingly so. And, as usual, I'm sharing these patterns in good faith. Please don't sell the pattern or any product made from it. Thanks! What you'll need: Thinner yarn (Two colors if you want yours like mine.) 3.5 mm (E) h...

Crochet Overall Dress

Image
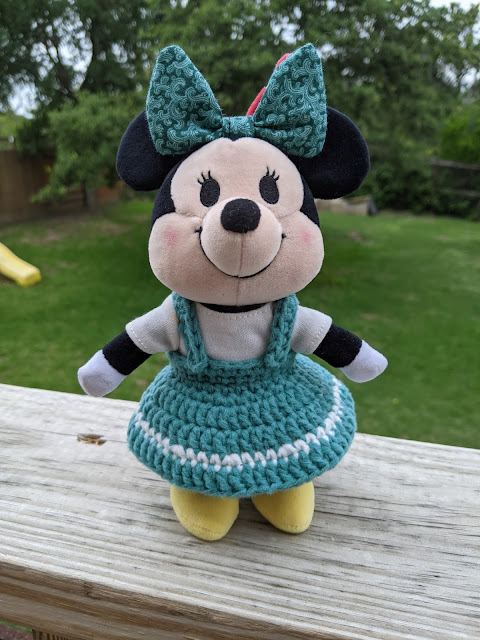
I almost forgot about the pattern for this cute number. I should've created this one before I did the other dresses . This one by far a lot easier than those ones, especially for those just starting out crocheting in the round. Remember, I'm located in America so the pattern abbreviations are accordingly so. And, as usual, I'm sharing these patterns in good faith. Please don't sell the pattern or any product made from it. Thanks! What you'll need: Thinner yarn (Two colors if you want yours like mine.) 3.5 mm (E) hook Scissors Stitch marker Yarn needle  Abbreviations: MAR = magic adjustable ring  st = stitch sc = single crochet dc = double crochet sl st = slip stitch inc = increase stitch inv dec = invisible decrease *...* = repeat inside as indicated    DRESS: SKIRT: ch 30, sl st Rnd 1: sc around (30) Rnd 2: *sc 4 st, inc* x 6 (36) Rnd 3: ch 2, *dc 2 st, inc* x 12, sl st (48) Rnd 4: ch 2, dc around, sl st (48) Rnd 5: [Contrast Color] ch 1, *sc 3 st, inc* x 12,...

Crochet Hat w/ Brim (or Beanie)

Image
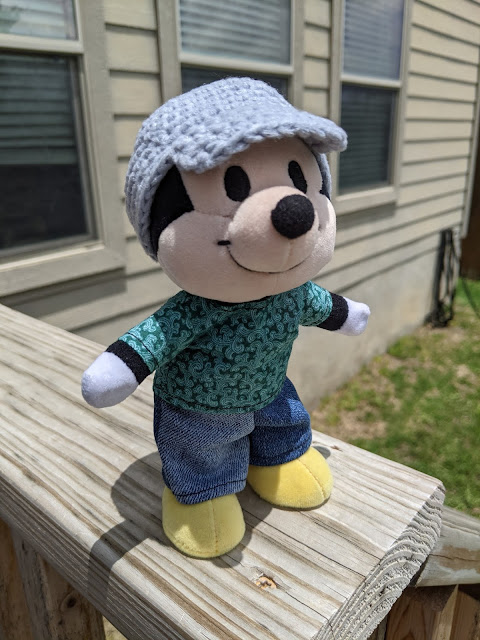
 Now here's a simple pattern that anyone new to crocheting in the round can try. This hat is created exclusively in the round with the exception of the brim. As an added thing, you don't even have to make the brim and you've got yourself a beanie for your nuiMOs to wear. You can even add a little pompom to add to the cozy factor. Remember, I'm located in America so the pattern abbreviations are accordingly so. And, as usual, I'm sharing these patterns in good faith. Please don't sell the pattern or any product made from it. Thanks! What you'll need:  Thinner yarn 3.5 mm (E) hook Scissors Stitch marker Yarn needle  Abbreviations: MAR = magic adjustable ring  st = stitch sc = single crochet dc = double crochet inc = increase stitch inv dec = invisible decrease *...* = repeat inside as indicated    HAT: *Everything in both loop unless otherwise stated. MAR Rnd 1: 6 sc into MAR (6) Rnd 2: inc around (12) Rnd 3: *sc, inc* x 6 (18) Rnd 4: *sc 2 st, inc* x 6 (24) ...

Crochet Dresses, Bow, and Beret

Image
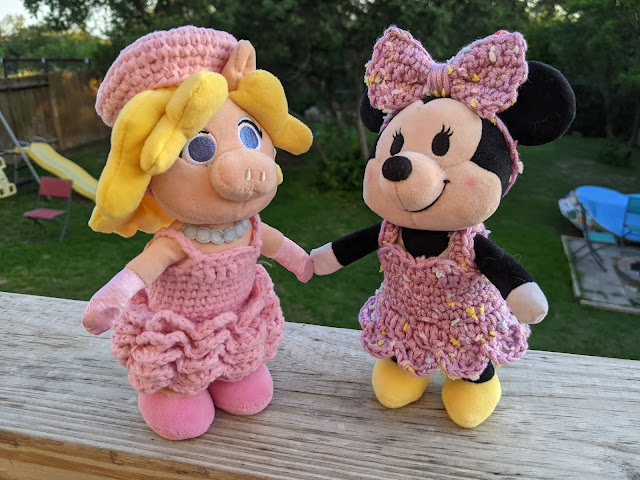
It's time for more crochet patterns! I finally got a hold of some yarn that I thought would be the perfect thickness to make some cute outfits for my nuiMOs. I wanted thinner stuff because detail work is so much better when you have more stitches to work with. I was going for a different kind of dress but I need to rehearse myself in lace-work to get the feeling I want. Right off the bat I will tell you that Minnie's dress is easier to start off with. Both dresses have the same start but it's the bottom that makes Miss Piggy's dress a bit more difficult. No matter what, I hope you take the chance to make all of these items. At the moment I'm unsure about the fit of these dress for Daisy. From what I understand Daisy's got back so it may lie a bit different on her. I'm thinking of adopting her and her main man pretty soon, though, so I can make sure these patterns fit all nuiMOs. As always I share these patterns in good faith. Please don't use these patte...

NuiMOs Bathroom Vanity

Image
The final piece of furniture I have for today is a bathroom vanity! I actually have a couple pieces of furniture that I haven't taken pictures of yet, but most were super simple so it'll be easy to write a post about them someday. But for now this the final one for today. =) Here's what you'll need: Cardboard (average thickness and thin) Hot Glue and Hot Glue Gun Craft Foam (two colors) Popsicle Sticks Pipe Cleaners Craft Paper Cutters Tin Snips Ruler Pen Aluminum Foil or Mirror Cut out some cardboard: 3" x 5" (x2), 3" x 2.5" (x2), and 2.5" x 5" (x2). Glue them as pictured above, and cut a hole for your sink. Make a sink out of craft foam and glue it to the inside of the sink hole. What I don't show in the next photo is cutting a piece a cardboard that goes underneath the popsicle stick exterior. The doorway is 4" x 3", so that should make the piece 5" x 3.5" originally. I get this because the pieces that goes around...

NuiMOs Kitchen Sink and Stove Combo

Image
Continuing on with the kitchen, I decided to make a sink and stove combo to save space. It was around this point that I realized my house didn't have much of that, and I thought it would be easier to make once piece versus two pieces. Here's what you'll need: Carboard (average thickness and thin) Hot Glue and Hot Glue Gun Craft Foam (two colors)  Popsicle Sticks Clear Plastic Craft Paper Silver Pipe Cleaners Cutters Tin Snips Ruler Pen First cut out: 3" x 8" (x2), 2.5" x 3.25" x(3), and 2.5" x 8" (x2). Glue them as shown above. The smaller side is the stove. Now this part is a bit hard to describe since there aren't a lot of pictures and I made it a while ago. I remember these pieces are all 0.5" wide. The opening for the doorway is 4" x 3". Oh, so there we are. The piece above the stove is 0.5" x 3". The piece making the doorway should be 5" x 3.5". Also I added a piece of cardboard towards the bottom of ...